I know shaders can seem like a scary world for some however in just a few lines of code I want to give you an easy to implement and impressive shader that will be a great starting point for learning your first shader.
Today I will show you how to make a shader to warp your screen and add ripples and other distortions to your games.
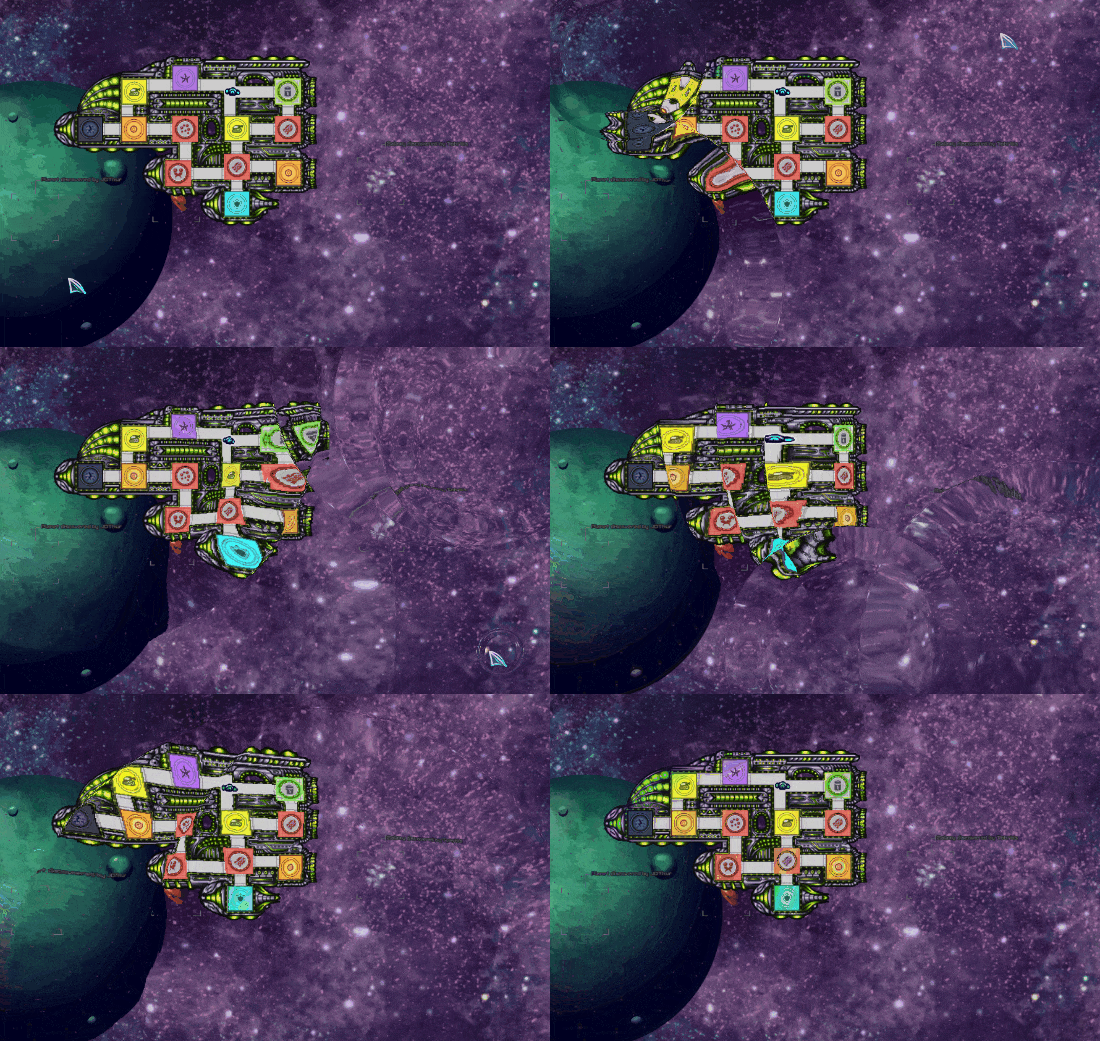
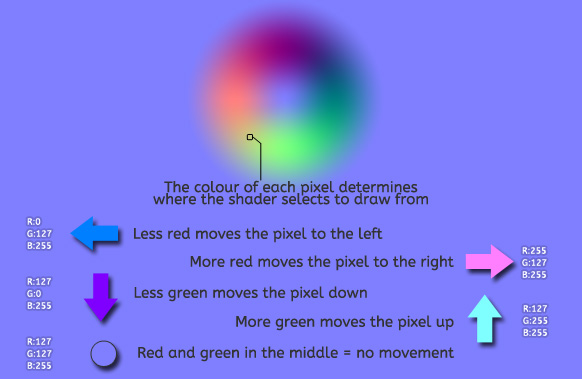
The concept is very simple, we are going to pass a Surface into the shader with all the information about where each pixel should actually draw to the screen. This works just like a lens.
First we are going to make a new shader with Alt+A and you will notice it comes as two files, the Vertex Shader and the Fragment Shader. We will only be using the Fragment Shader which in GameMaker is the second tab along, this code runs on the graphics card for every pixel on the screen.

This shader will look at the surface and for every pixel on the surface the colour will tell the shader where to offset when selecting what colour to draw.
Shader Code Fragment Shader:
varying vec2 v_vTexcoord;
varying vec4 v_vColour;

uniform sampler2D distortion_texture_page; // the name of the surface in the shader

void main()
{
    // find the offset colour for this location (this is where the magic happens)
    vec2 distort_amount = vec2( (v_vColour * texture2D( distortion_texture_page, v_vTexcoord)).xy);


    // FOR NORMAL MAPS:  (	either directX or OpenGL flip the green channel,
    //			while you dont need to worry about it in GM more
    //			normal maps have green pointing the wrong way)
    distort_amount.x = 1.0 - distort_amount.x;

    distort_amount -= 0.5;//128.0;
    if (distort_amount.x > 0.5) {distort_amount.x -= 1.0;}// wrap around
    if (distort_amount.y > 0.5) {distort_amount.y -= 1.0;}// wrap around
    distort_amount /= 4.0;


    gl_FragColor = v_vColour * texture2D( gm_BaseTexture, v_vTexcoord+distort_amount);

}
Now that we have the shader we need to apply it to something
Object Create Event:
#macro COLOUR_FOR_NO_MOVE make_colour_rgb(127,127,255)

// name of what you want it to be called in the shader
distortion_stage = shader_get_sampler_index(shader_fullscreen, "distortion_texture_page")

application_surface_draw_enable(false)
Object Post Draw Event:
surface_distort = surface_create(room_width,room_height);
surface_set_target(surface_distort)

    draw_clear_alpha(COLOUR_FOR_NO_MOVE,0)

    // Anything we draw here will distort the screen
    draw_sprite(spr_example_distort,0,500,500)

surface_reset_target()

var surface_texture_page = surface_get_texture(surface_distort)

shader_set(shader_fullscreen)

    texture_set_stage(distortion_stage, surface_texture_page);
    draw_surface(application_surface,0,0)

shader_reset()

surface_free(surface_distort) // always remember to remove the surface from memory
Whatever you draw to the Surface will now distort the screen, you can draw as many distortions on it as you like and those can have different amounts of opacity (which would end up changing the magnitude of the warping). You can replace spr_example_distort with as many bending images and changes as you like.
The important part is texture_set_stage() we use this to pass the surface into the shader so it can read the information on it. surface_distort is the name I gave to the surface that has information about where every pixel should offset where it selects it's colour from.
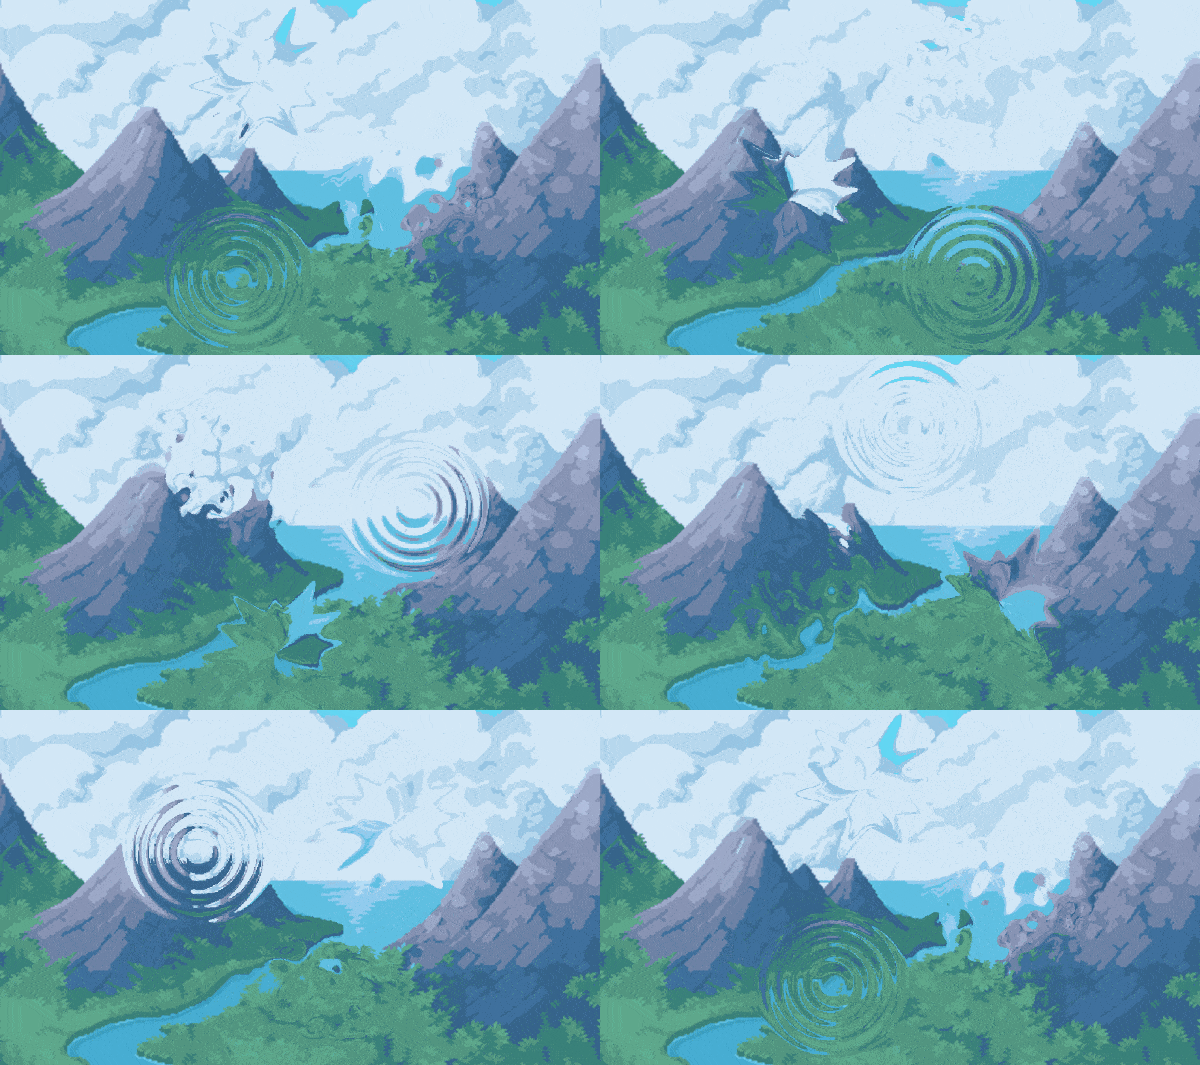
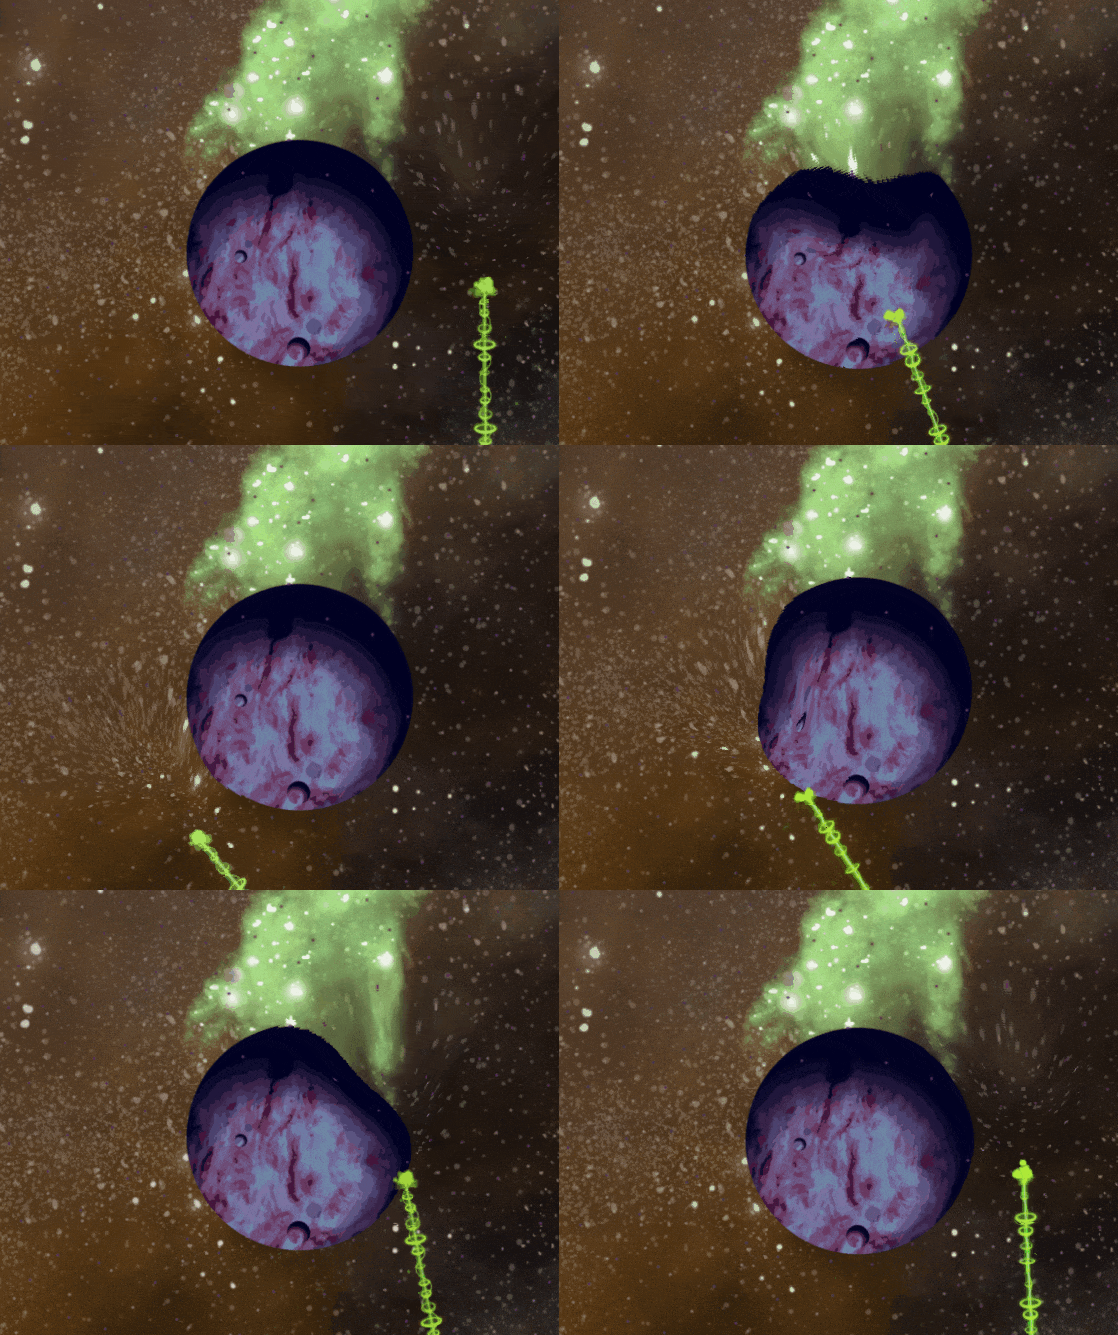
So you can see this is a really easy way to add shockwaves to your GameMaker game or just bend the screen and use warping to add more juice to your projects like; cool water effects, impact ripples, glass effects, magnified glass zoom in/out.
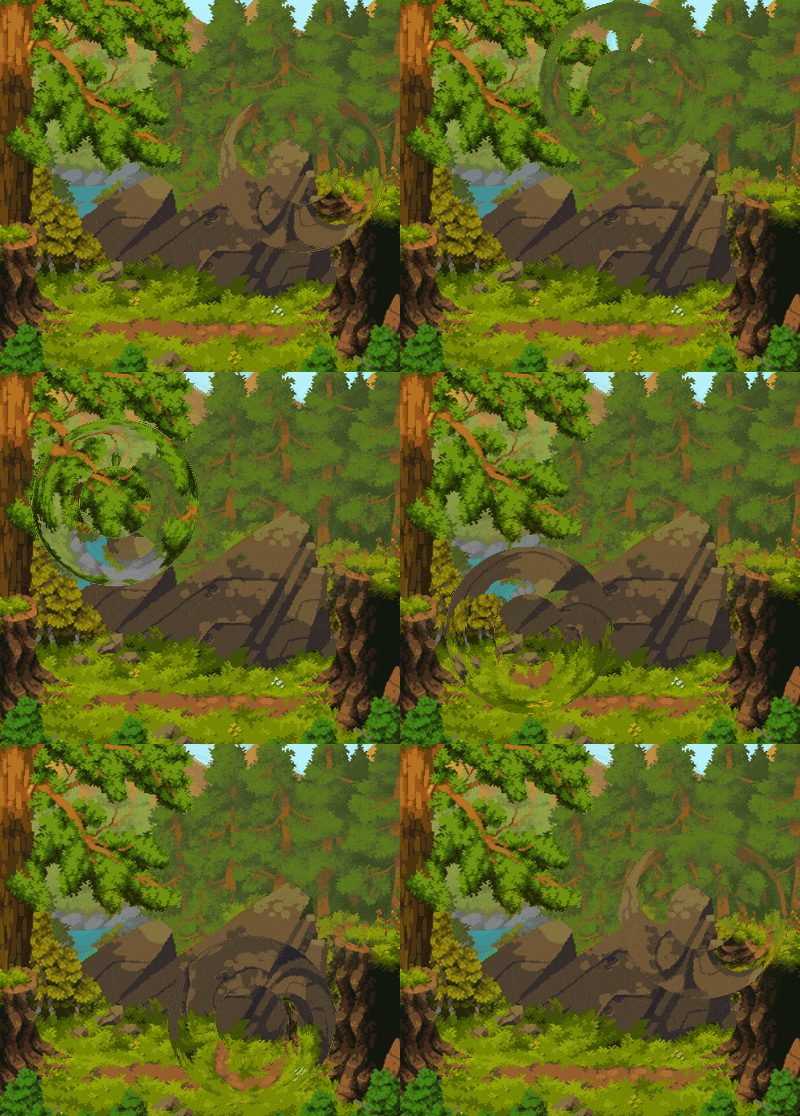
How does it preform? It really doesn't have much of an impact, and while there might be a small overhead it doesn't increase much with huge numbers of simultaneous distortions.
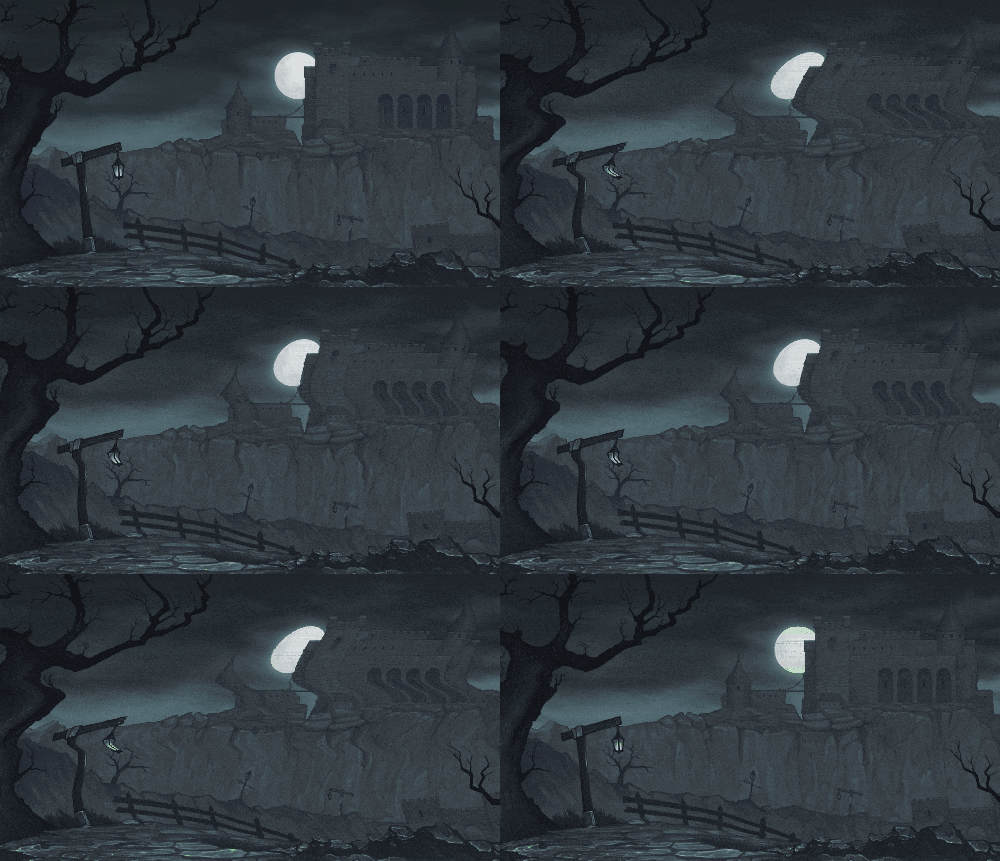
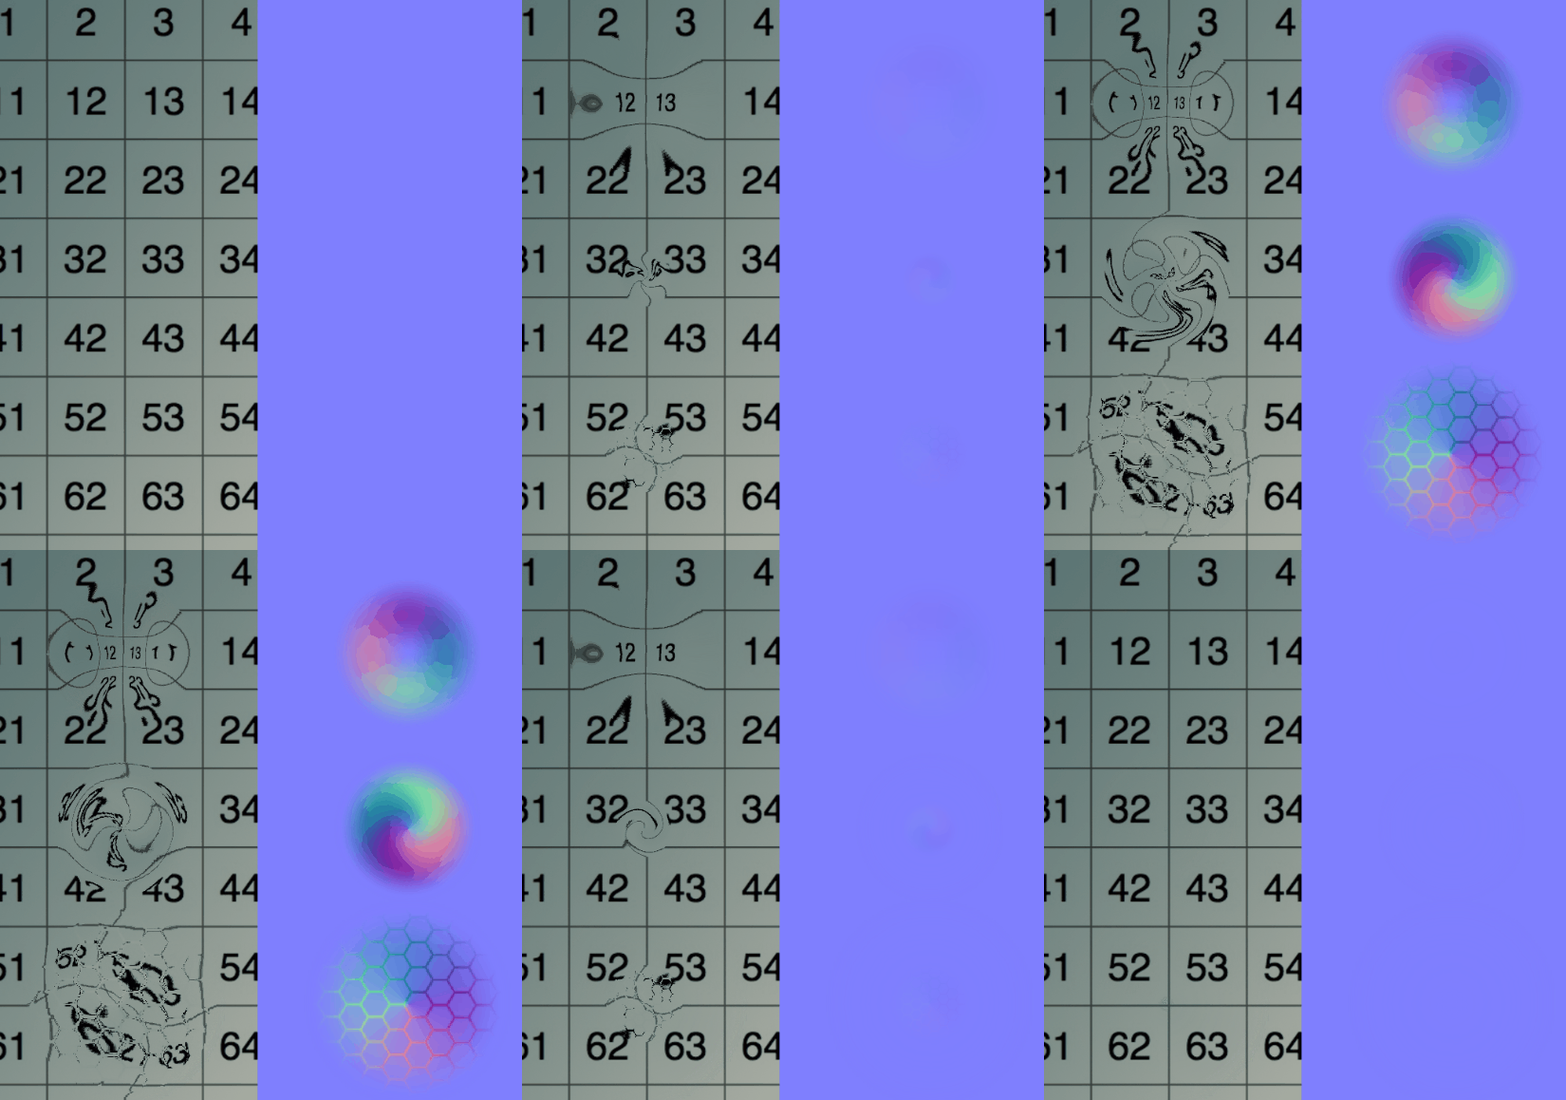
I've been calling these lens images Normal Maps in my mind, however they are technically not Normal Maps. You can grab any Normal Map and input it into this shader and it will work just fine, they are also much easier to find online so I'm keeping this format as close as I can to regular Normal Maps used for lighting.
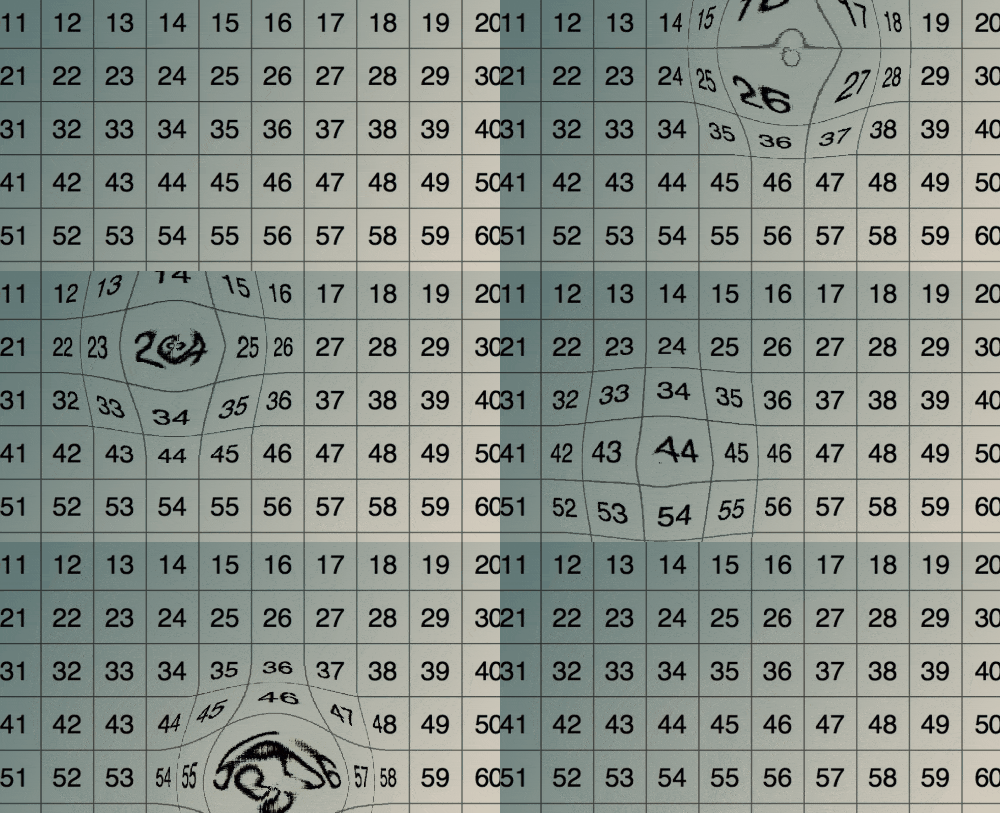
Here is a nice image to get you started that will zoom out your screen that you can use for cool lens effects:

For anyone wanting to make these distortion images themselves I have some great tips on making them in GIMP/Photoshop so drop me a message.
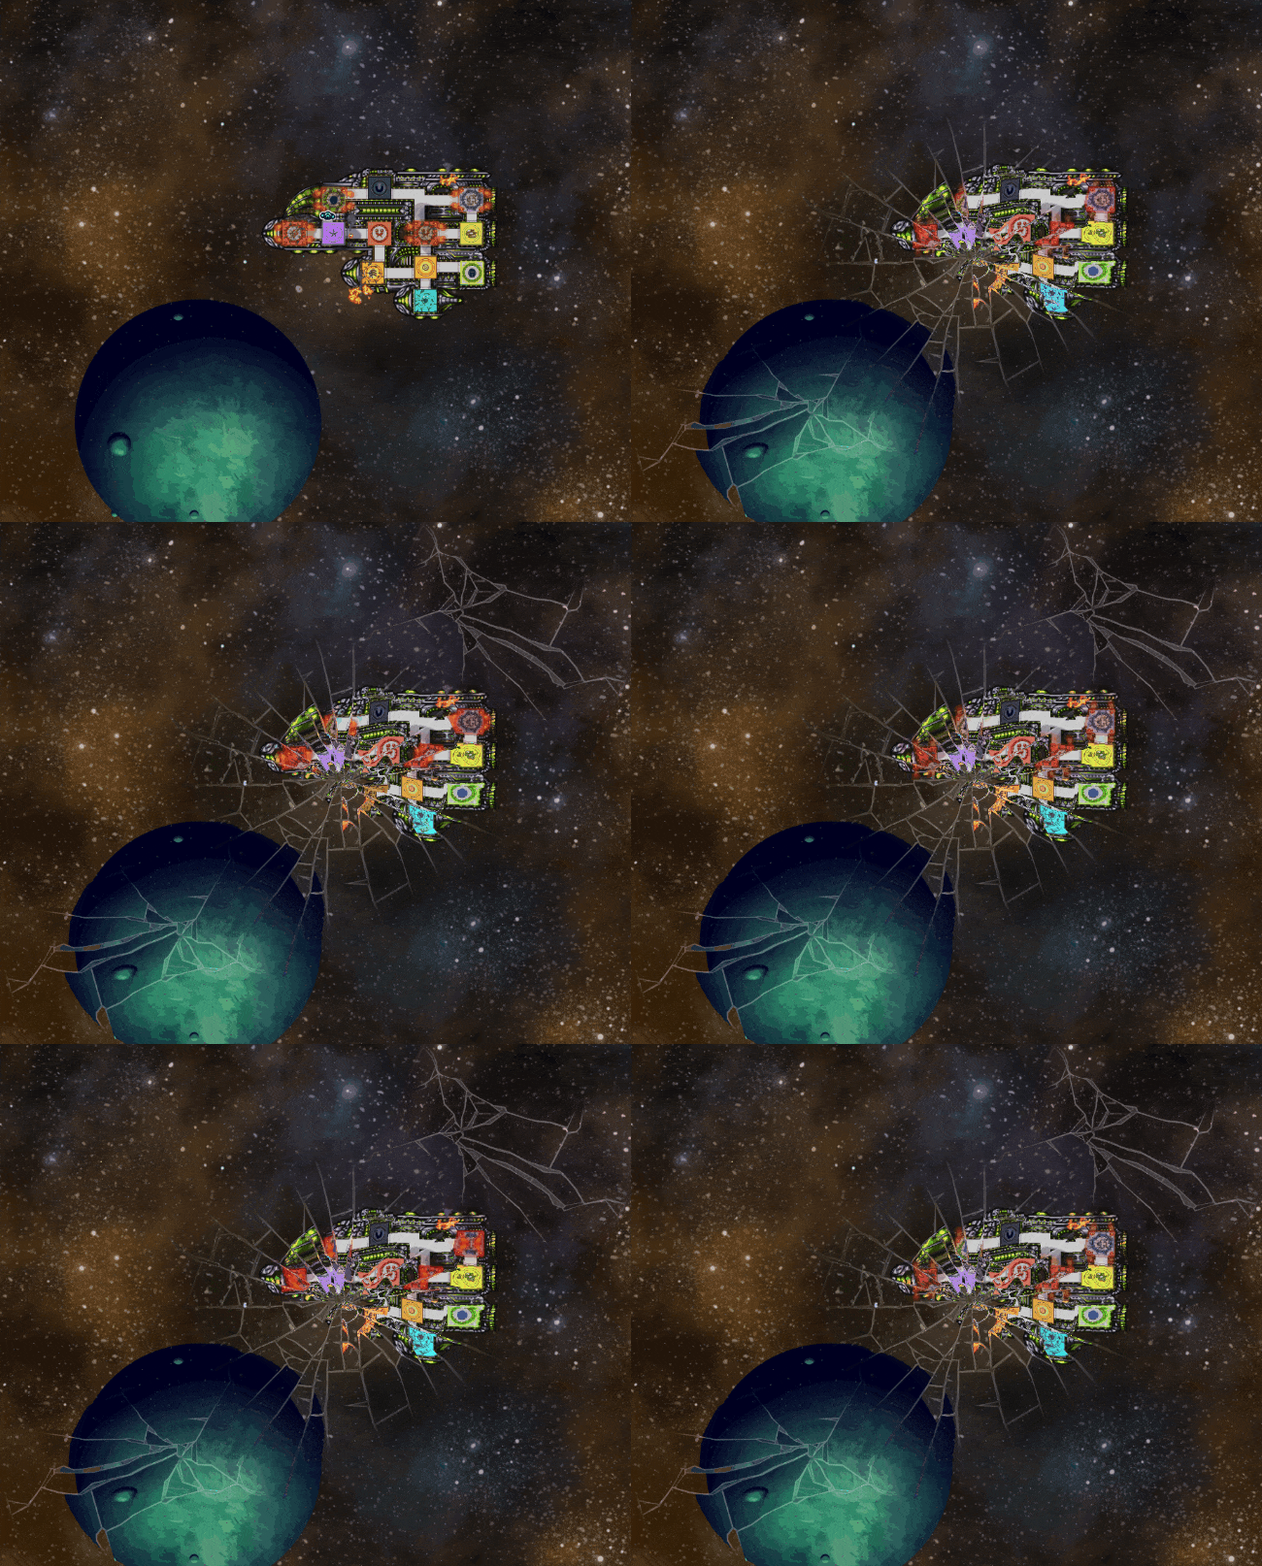
Using a bit of masking you can even do some cool advanced things like this:
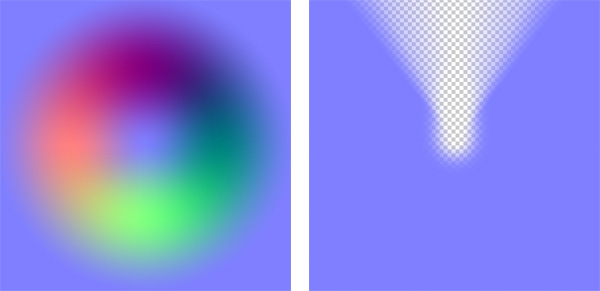
Overlaying these two images allows you to pick only a selection of the warping you want. Using this we can create a direction to point the masking and in this case only suck things into the point you want.
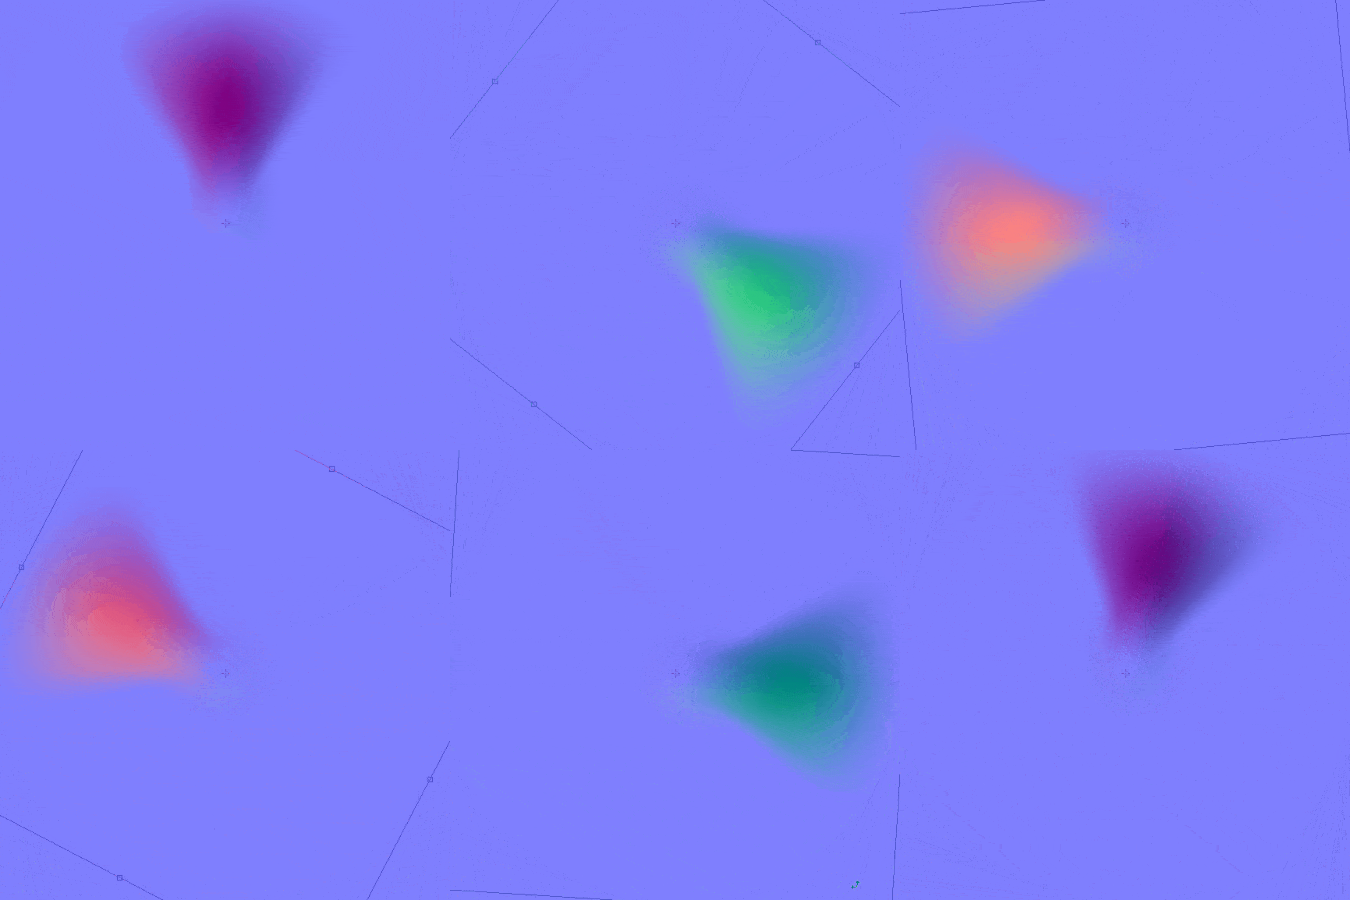
It's also a great way to add rain overlays and water effects to your games.
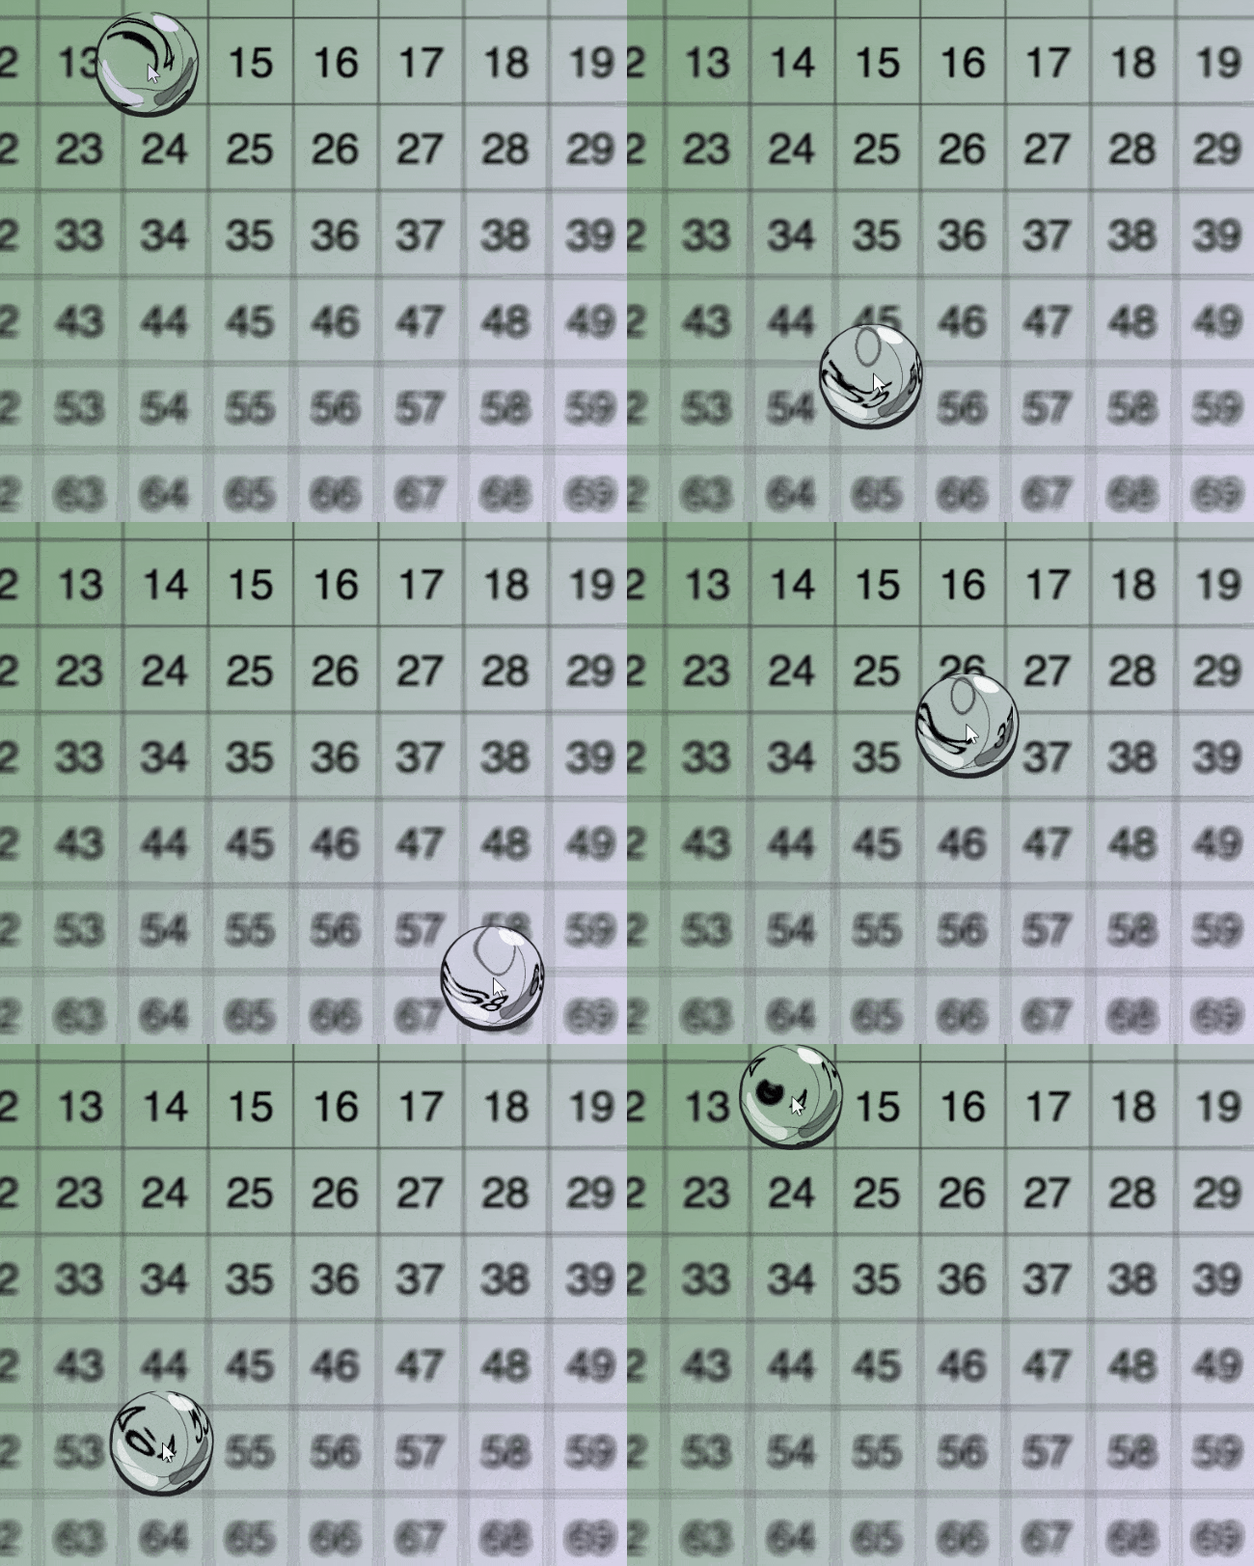
Show me what you make with this.
 Properly Grey Scale in GameMaker
 Rotating 3D Cube Screen Transition in GameMaker